Pages

Thursday, April 29, 2010

Spicy Supercrunchy Fried Chicken


This week at IHCC the theme was spice week. I searched for recipes, arranged my spices from sweet to mild to hot and then I arranged them alphabetically. I just could not decide on one specific recipe. Until the one that caught my eye late Tuesday night. The term fried chicken is not uncommon here in my home. However, with Mark Bittman's spice kick added and a different coating technique , it turned out to have a totally different taste than my southern, iron skillet scalded fried chicken recipe.

Never have I thought about adding curry, chili pepper and allspice to my fried chicken! This recipe was also different in the way that the chicken is battered. In the past, I have always had a plate of flour with the spices added, and a bowl for the egg and milk. and would roll, dip and then roll again. The recipe calls to add EVERYTHING together in a bowl. I used a gallon sized zip lock bag to mix it all together. The batter was thick and remained on the chicken very well. Warning: Things could become a 'lil messy at this point, but well worth the goo.

I used Betsy, my iron skillet and corn oil.

I also used boneless chicken breasts for two reasons. 1. They cook so much faster. 2. My youngest son's newest line when having chicken for dinner is.."Does it have bones?" (shrugs, not sure when his preference switched to boneless chicken. hahaha.)

To maintain some sort of healthiness to the fried chicken, I did remove the skin. I know it's a sin to some in the south to de-skin the chicken..my hips will thank me later!

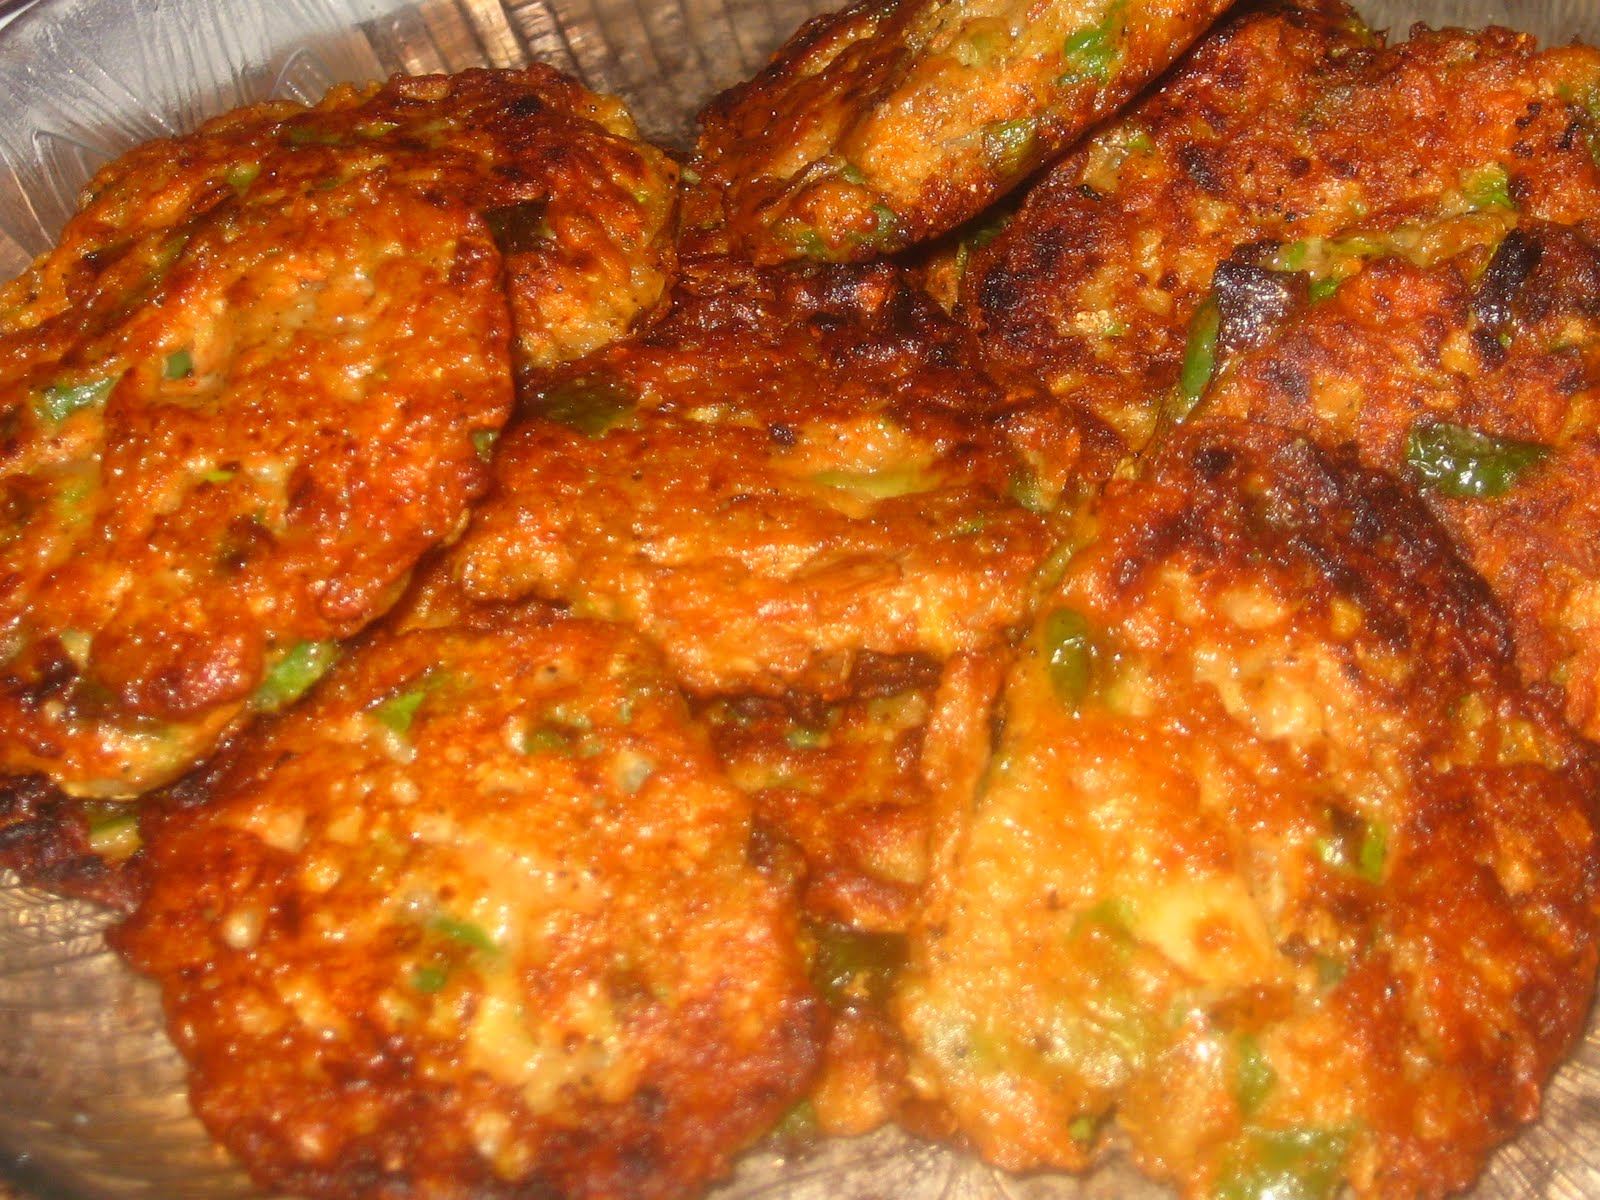
Served with seasoned collard greens and pinto beans made for a spicy southern meal.

Spicy Supercrunchy Fried Chicken (Mark Bittman)
Ingredients
  • 1 good chicken, cut into serving pieces, or use 8 to 10 leg pieces (drumsticks and thighs), trimmed of excess fat
  • Salt and pepper to taste
  • 1 tablespoon curry powder
  • 1/2 teaspoon ground allspice
  • 2 tablespoons minced garlic
  • 1 Scotch bonnet (habanero), or other fresh chili, stemmed, seeded and minced, or cayenne to taste, optional
  • 1 egg
  • 1 cup flour
  • A mixture of lard and butter, as needed, or olive oil, or neutral oil like corn or grapeseed
  • Lemon or lime wedges for garnish
Method
  • 1. In a bowl, toss the chicken with salt, pepper, curry, allspice, garlic, chili, egg and 2 tablespoons water. When everything is combined, blend in the flour, using your hands. Keep mixing until most of the flour is blended with the other ingredients and the chicken is coated (add more water or flour if mixture is too thin or too dry; it should be dry but not powdery). Let sit while you heat the fat.
  • 2. Choose a skillet or casserole at least 12 inches in diameter that can be covered. Add enough fat to come to a depth of about 1/2 inch and turn heat to medium-high. If you\'re using butter, skim any foam as it rises to the surface.
  • 3. When the fat is hot (a pinch of flour will sizzle) raise heat to high. Slowly add chicken pieces to skillet (if you add them all at once, temperature will plummet). Cover skillet, reduce the heat to medium-high, and cook for 7 minutes.
  • 4. Uncover the skillet, turn the chicken and continue to cook, uncovered, for another 7 minutes. Turn the chicken again and cook for about 5 minutes more, turning as necessary to ensure that both sides are golden brown.
  • 5. Remove the chicken from skillet and drain on paper towels. Serve chicken at any temperature, with lemon or lime wedges.

Thursday, April 22, 2010

Pot stickers...The orient visits small town georgia


This week's theme on IHCC was POT LUCK with Mark Bittman. I wanted to try something new and chose pot stickers. Oh my pot stickers for pot luck week!

My oldest son was visiting and we decided to cook together today. We had lots of fun!!!
We served the stickers with fried rice and steamed zucchini. yum.

The dipping sauce was made with: Honey, vinegar, olive oil, scallions, garlic and red pepper flakes all mixed together. It was sweet,sour and spicy.

The recipe was very easy and I finally had a chance to use my bamboo steamer. YAY. Being the "freezer freezing queen" that I am, I of course experimented with freezing a few. I placed the stickers on a piece of wax paper right after the wrapping step and after they were frozen, I transferred the pot stickers to a closed dish and stored them.

***These may be cooked either fresh or frozen.

I used my bamboo steamer after browning one side in a skillet. A pot steamer may be used or the same skillet that is used to brown one side can also be used.


POT STICKERS (Mark Bittman)

Makes At least 24 dumplings (4 to 8 servings)
Time: 30 to 45 minutes

Make these with round wonton or gyoza wrappers, 3 or 4 inches in diameter. Panfried until crisp on the bottom and then cooked through by steaming, they are just as easily simply steamed. Either way they are wonderful, and either way they should be served immediately. You can fill and dust them with flour and then refrigerate them, covered, for a couple of hours or freeze them for a few days before cooking (you can cook them frozen or thawed), but they're really best when cooked right after filling. Gyoza is the Japanese version of this type of dumpling; mandoo is the Korean version. They may be filled with pork, shrimp or other shellfish, vegetables, or-in the Korean model-a mixture of kimchi and other food.

1/2 pound ground pork, chicken, or other meat
1/4 cup minced scallion
1 cup washed and chopped leek, Napa cabbage, or bok choy
1 teaspoon minced fresh ginger
1 teaspoon rice wine or dry sherry
1 teaspoon sugar
1 tablespoon soy sauce
1 tablespoon dark sesame oil
1 egg, lightly beaten
1 teaspoon freshly ground black pepper
Large pinch salt
24 round dumpling skins
Peanut oil or neutral oil, like grapeseed or corn, as needed

1. Combine the first eleven ingredients and mix gently but thoroughly. Put about 2 teaspoons of the filling in the center of a wrapper, then moisten the edge of the wrapper with water and fold over to form a semicircle. Press the seam tightly to seal; it's best if there is no air trapped between the filling and wrapper. Set on a lightly floured plate or wax paper. (At this point, you may cover tightly and refrigerate for up to a day or freeze for a couple of weeks.)

2. Coat a large, deep skillet with a thin layer of oil and turn the heat to medium-high. Put the dumplings, one at a time, into the skillet, seam side up, leaving space between them (you will probably have to cook in 2 batches). Turn the heat down to medium, then cover and cook for about 5 minutes. Add 1/2 cup water to the skillet, then cover and cook for another 2 minutes. Remove the lid, turn the heat to high, and cook until the water has evaporated, about 3 minutes. Remove the dumplings and serve with dipping sauce.

Steamed Dumplings.

Set up a steamer in a covered pot. Lightly oil the steamer or plate to prevent sticking. Steam the dumplings in one or two batches for about 10 minutes per batch. Serve immediately with dipping sauce.

Friday, April 16, 2010

Overnight Waffles...YUM


The IHCC continues with the exploration of Mark Bittman recipes. This week's theme was Pantry Raid. I lost count how many times I opened my cabinets to ponder the possibilities. I decided on a waffle recipe by Mark Bittman. It is an overnight recipe and was very easy to mix up. I mixed, covered and walked away for the night. While I slept, the waffle batter "brewed".

I awoke to find the batter nearly doubled and it smelled wonderful. I substituted almond extract instead of using vanilla and I also added lemon zest.

The last step was to mix in the eggs, oil the waffle maker and preheat. I confess that I have not oiled the griddle part of the maker in a very long time. Trust had developed over time and I avoided the oil. The first batch came out in pieces and some of those pieces were stuck to the griddle. Now I don't trust my waffle maker! LAUGHS.. Okay, it is my fault. However, now when I add batter, close the lid and lock it, I wonder how "they" the waffles are doing in there because one can't see what's happening. I did brush the griddle for the rest of the waffle batch and they came out perfect.

A few strawberries later and a drizzle, (or two, maybe three) of syrup my sons were happy and full.

p.s. These froze very well and make 16 waffles.


OVERNIGHT WAFFLES: (Mark Bittman)


Ingredients

  • 1/2 teaspoon Instant yeast
  • 2 cups All purpose flour
  • 1 tablespoon Sugar
  • 1/2 teaspoon Salt
  • 2 cups Milk
  • 8 tablespoon Butter melted and cooled
  • 1/2 teaspoon Vanilla extract optional ( I used almond extract)
  • Canola Oil for brushing on waffle iron
  • 2 eggs
*I also added the zest of one lemon. With waffles anything works.

Preparation

1. Before going to bed, combine the dry ingredients and stir in the milk, then the butter and vanilla. The mixture will be loose. Cover with plastic wrap and set aside overnight at room temperature.

2.Brush the waffle iron lightly with oil and preheat it. Separate the eggs and stir the yolks into the batter. Beat the whites until they hold soft peaks. Stir them gently into the batter. (I just stirred the eggs into the batter without separating them. Seemed to work well.)

3. Pour batter onto the waffle iron and bake until the waffle is done, usually 3 to 5 minutes, depending on your iron. Serve immediately or keep warm for a few minutes in a low oven.


Wednesday, April 14, 2010

Maggie's Country Kitchen: Pretzel snacking

Maggie's Country Kitchen: Pretzel snacking

Pretzel snacking


How can anyone turn down a hot, buttery, crispy and chewy pretzel? I know I can't! Making pretzels is fun and creative. My family awaits not so patiently, eyeballing the rising dough and wishing for the soda water to hurry up and boil. The times I have heard "are they finished?" are countless.
The recipe is very basic and I sometimes top with sesame seeds, garlic,salt or if my sweet tooth is screaming I will sprinkle sugar on top. The possibilities are endless.

http://en.wikipedia.org/wiki/Pretzel

SOFT PRETZELS: (Adapted from Bobby Flay)

1 1/2 cups warm water
2 tablespoons brown sugar
1 1/2 teaspoon dry active yeast
3 ounces unsalted butter, melted
2 1/2 teaspoons kosher salt
4 1/2 to 5 cups all purpose flour
Vegetable oil
3 quarts water
3/4 cups baking soda
2 whole eggs beaten, mixed with 1 tablespoon cold water

Combine the water, sugar, yeast, and butter in bowl.

Add the salt and flour and combine until dough begins to pull away from sides of bowl. Turn out onto a lightly floured surface and knead, knead, work those arm muscles and work out frustrations on the dough. You will have a pretty smooth ball of dough. ( can also use a standing mixer, but this way is much more fun!)

Oil a bowl with vegetable oil, add the dough and turn to coat with the oil. Cover with a clean towel or plastic wrap and place in a warm spot until the dough doubles in size, about 1 hour.

Preheat the oven to 425 degrees F.

Bring the water to a boil in a small roasting pan over high heat and add the baking soda.

Remove the dough from the bowl and place on a flat surface. Divide the dough into 8 equal pieces, about 4 1/4 to 4 1/2 ounces each. Roll each piece into a long rope measuring 22 inches and shape: take the right side and cross over to the left. Cross right to left again and flip up. Boil the pretzels in the water solution, 2 at a time for 30 seconds, splashing the tops with the warmed water using a spoon. Remove with a large flat slotted spatula or a spider. Place 4 pretzels on each baking sheet, brush the tops with the egg wash and season liberally with the salt. Place into the oven and bake for 15 to 18 minutes until golden brown.

Dip into garlic butter sauce, or anything your taste buds have a hankering to taste! (Is hankering a southern term?)

Sunday, April 11, 2010

Veggie Pancakes


Hello! Today I am writing my first post! I am also including a recipe that I created in my small kitchen in Northwest Georgia. Please bear with me as I learn the "ropes" of blogging and capturing the "good side" of my dishes in pictures.

Recently I found an online cooking club. The next six months the club is focusing on recipes by the talented, minimalist Mark Bittman. This week's theme was "small bites of Bittman" (Isn't that a cute way to describe appetizer recipes created by Mark Bittman?)

I searched the net, read a few books and decided to create Mr. Mark Bittman's Vegetable Pancakes. Living in the south and in the hills, we tend to call any vegetable that is cut, battered and fried "fritters".

When I first bit into one, I heard and felt a crunch. The crunch was followed by a creamy taste of awesome veggie goodness! Scallions and bell peppers were diced very fine, and carrots, potatoes and celery were grated. I think the starch in the potatoes helped hold the pancakes together. I also used an extra egg.

The recipe was easy, cheap and very fun. I added some garlic, paprika, and onion powder to spice them up. Anything can be added to suit someone's palate. Enjoy..I sure did!


VEGETABLE PANCAKES: (Mark Bittman)

About 1 1/2 pounds grated vegetables, peeled first if necessary (3 cups packed), and squeezed dry
1/2 small onion, grated; or 4 scallions
1 egg or 2 egg whites, lightly beaten
1/4 cup white or whole wheat flour, more or less
Salt and freshly ground black pepper
Olive or vegetable oil or butter for greasing the pan

  1. Heat the oven to 275°F. Grate the vegetable or vegetables by hand or with the grating disk of a food processor. Mix together the vegetables, onion, egg, and 1/4 cup of the flour. Sprinkle with salt and pepper. Add a little more flour if the mixture isn’t holding together.
  2. Put a little butter or oil in a large skillet or griddle over medium-high heat. When the butter is melted or the oil is hot, drop in spoonfuls of the batter, using a fork to spread the vegetables into an even layer, press down a bit. Work in batches to prevent overcrowding. (Transfer finished pancakes to the oven until all are finished.) Cook, turning once, until nicely browned on both sides, about 5 minutes. Serve hot or at room temperature.

Search This Blog